Wagener Sparky: Flue Shield Installation
../Installation Guides/Wagener Sparky: Flue Shield Installation Guide
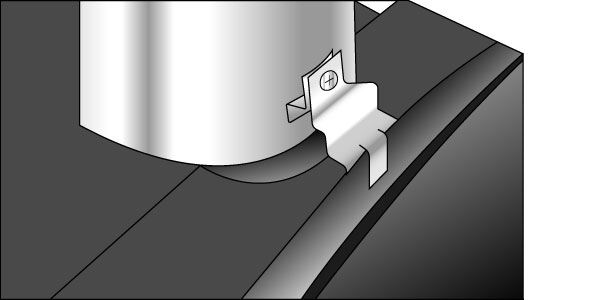
Step 1.
- Remove the plastic coating (if any) from the top and bottom brackets.
- Peel back the plastic coating on the flue shield approximately 100mm at each end.
- Fix the bottom bracket with an M6 screw as per illustration.
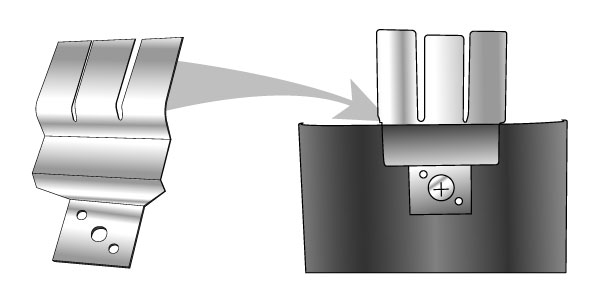
Step 2.
- Fit the top bracket to the flue shield as per photo above
- Ensure that it is flush with the top of the shield and is central.
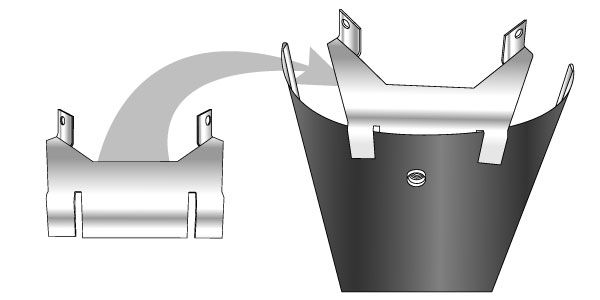
Step 3.
- Locate the bottom bracket onto the Sparky inner heat shield at the centre point with two legs in and one leg out as per photo above.
- Position the top bracket, mark the rivet or screw holes with a felt tip pen, then drill and secure.
- Remove the balance of the plastic coating from the flue shield. (NB. By rotating the flue slightly you can adjust the flue shield alignment.